
3D Configurator
Create a 3D Configurator
Full video how to prepare a scene to be published in your private gallery, inside a 3D viewer or a 3D configurator.
1 - Go to MATERIAL LAYERS tab where you will see a list of material layers.
2 - MATERIAL LAYER parameters:

Shank 4 is the original name of the material from 3d software (e.g., rhino, matrix etc..)
Metal is the name of the linked material folder in CadGL MATERIAL LIBRARY (see below n°3)
Or Jaune is the name of the CadGL material
An Image file can be assigned to each layer, the recommended template size & ratio is 350 x 220.
Swap Tag is a unique name used to group each layer, hidden or not. It’ll allow you to swap parts inside your configurator that has the same name.
A Layer Price can be entered. This price can be refined depending on the markup decided for each material in MATERIAL LIBRARY (see below n°4)
The Display Name allows you to change the original material name from 3d software (e.g., rhino, matrix etc..)
3 - Link Material folders in MATERIAL LIBRARY with your layers.

Click the folder icon, then Apply

4 - Assigning material to layers:
You must select a layer from Material layer menu or select the part with your mouse then choose a material.

Click edit to view the material properties
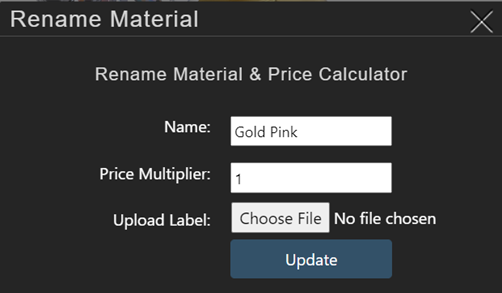
Edit material name
Price multiplier will be calculated with Layer Price, value of 1 won’t impact the layer price, 0.9 or 1.1 will !
A material icon/label can be assigned, if no image is used, a color will be automatically generated.
Square labels example:
